The beginners guide to Google Classroom
 Lucie Renard —
As the classroom is becoming more and more paperless, teachers have to start finding solutions to hand out assignments, manage their classroom, communicate with students, and so on.
A rapidly growing number of teachers are finding their way to Google Classroom. An ingenious virtual classroom that focuses less on tech and more on teaching. You don’t have to be a tech professional to handle this classroom.
In this post I’ll explain what Google Classroom is, and what you can or can’t do with it. Afterwards, you learn to set up your classroom and I’ll give you some great apps you can use in combination with Google Classroom.
What is Google Classroom?
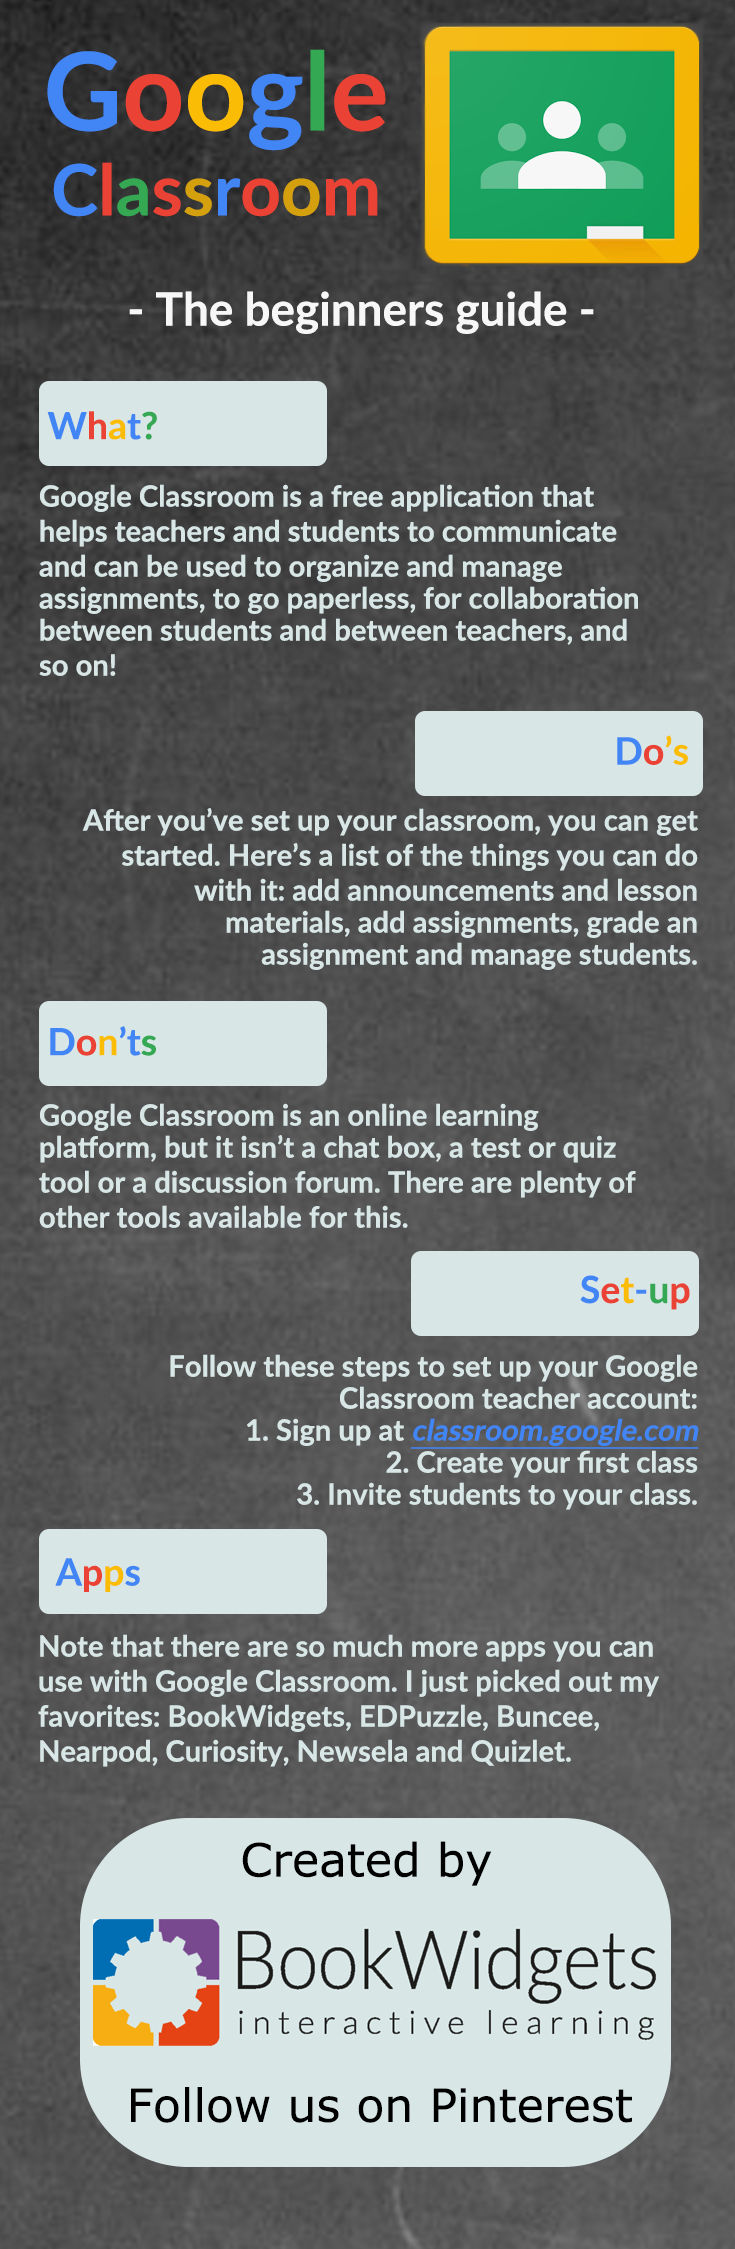
 Google Classroom is a free application designed by — take a guess; Google. Google Classroom helps teachers and students to communicate and can be used to organize and manage assignments, to go paperless, for collaboration between students and between teachers, for teaching from a distance, and so on! You could compare it with Showbie, and other online learning platforms or learning management systems.
It’s built on top of Google Docs and Google Drive, which means it’s very easy to use and intuitive for any teacher. But that doesn’t mean it’s boring. Google Classroom is full of surprises you’ll encounter along the way. I hope this post gets you started with the basics.
Things you can do with Google Classroom
 So this is probably the most important question. Why would you use Google Classroom? What’s in it for you?
First of all, it’s completely free. You won’t have to upgrade to a pro version that will cost you some money. Yes, $0,00. Nothing. At. All.
After you’ve set up your classroom, you can get started. You’ll find out how to set up your Google Classroom account in just a few minutes. First, let me show you why Google Classroom is a big deal. Here’s a list of the things you can do with it:
- Add announcements and lesson material: Give your students announcements about your lesson. Add lesson materials in the announcements. These announcements will show up in your students’ Google Classroom stream. That way, students can find everything quickly. You can add materials from a Google Drive, connected to that Google Classroom lesson, add files and images from your computer, add a YouTube video or add any other link you want your students to visit. It’s that easy!
- Add assignments: Just like adding an announcement, you can add an assignment to your course. It works the same way, but here you get the option to add a due date and grade it. It will notify your students when they have to make an assignment and it will also appear in their Calendar. You can even add a BookWidgets assignment in just a few minutes.
- Grade an assignment: Afterwards, you can check and grade the assignments your students have handed in. There’s room for feedback via a teacher comment. Then, send the assignment back to your students. The “Marks” tab holds a gradebook of all your student’s assignments and grades.
- Manage students: Of course, your students have to be able to share comments. Or not? That’s completely up to you! You can manage permissions, giving students the ability to post and comment, only comment, or give only the teacher the ability to post and comment. You can even e-mail your students individually.
Things you can’t do with Google Classroom
There are a few things you should know before you start using Google Classroom for the wrong reasons. It’s an online learning platform, but it isn’t:
a chatbox: You can comment on assignments and announcements, but there’s no chat function. If you do want to be in direct contact with your students, you can send them an email, or you can enable other Google apps to take over that function. Think about doing a Google Meet.
a test or quiz tool: There are some possibilities when it comes to making quizzes in Google Classroom, but it’s still not meant to be a quiz tool on its own. There are so many other good apps for that. Think about Google Forms or BookWidgets quizzes.
Option 1: You can add tests and assignments from other educational apps right inside Google Classroom, like for example, a BookWidgets assignment that gets automatically graded.
Option 2: Here’s what you can do inside Google Classroom itself: Add a question. Then choose between an open answer or a multiple choice question. Not that impressive, I know. It’s best to choose the first option if you want to make your digital classroom more interactive.
a discussion forum: You can make announcements, and students can really comment on them, but it’s not a great fit for discussions. Check out Padlet if you’re looking for a simple yet effective, free classroom tool that empowers discussions (and other cool things).
Setting up Google Classroom in 3 simple steps
 Okay, I got you so far. This means Google Classroom must mean something to you. You’ll find it’s easy to set up and very intuitive to keep on using it. Follow these steps to set up your Google Classroom teacher account:
1. Sign up
When you go to classroom.google.com, you can use Classroom by logging in using a G suite e-mail address or you can use it without “claiming” to use it for education. Everything works just fine that way too. It is just harder to manage your students if you have hundreds of them. You’ll have to add them one by one.
2. Create your first class
Click on the “+” button in the right upper corner. Choose “create a class”. Here, you fill in some detailed information about your class. Write down a good class name and section. The class name should be the title of your class so you can find it back in a few seconds. Then click on “create”.
3. Invite students to your class
Once you have created your class, you can invite your students. Let them sign using the Google Classroom app by entering the unique code you gave them. You’ll find the code in your created class. Go to the tab “students”. Another option is to invite your students one by one by entering their e-mail address. One thing you have to keep in mind: your students need to have a Gmail or Google e-mail address.
You can also let your students go to classroom.google.com. There, they can click on “join class”, enter the class code and they are in! This might be a bit faster as you don’t have to type in every student’s e-mail address.
Now your online class is ready! At least, it’s there, and everyone can access it. There are a few other things you have to do before you can take off for real.
- Create your first assignment or make an announcement. You can share a first announcement in the Stream or you can go to Classwork - Click on the “+ Create” button and share your first Google Classroom assignment. Don’t forget to number your assignments. It’s easier for your students to see which one comes first as you are unable to reorder assignments in the stream. You can move assignments around to the top though. Click on the title to see if any students have handed in the assignment and to give grades and feedback. Afterwards, you can return the assignments to your students, so they can start editing again.
- Add some lesson material to your assignment/ class. Add material from Google Drive or add a YouTube video, a file from your computer, a link, etc. You find these options right beneath the due date. If you just want to share a presentation of your class, which is not linked to an assignment, you can go to the tab “about”. Here you can add some lesson material like slides, interesting articles and examples.
- Access the Drive folder. Every time, you create a new class, Google Classroom creates a Drive folder for that class. You can access the folder by going to all your class tiles. On each tile, you’ll find a folder icon. Click on it, and you’re in the folder. Here you can add class materials too. All your students’ assignments automatically end up in the Google Drive folder, so you’ll find it back whenever you want.
The best apps for your Google Classroom
You can add practically everything to Google Classroom with a link to the website or page. Although, this doesn’t allow students to work interactively with the apps, on the apps. There are a lot of apps that have a built-in share button to Google Classroom or they have their own Google Classroom add-on. If your school can use the add-ons, that’s always the best way to go! This makes it easy for students to open the app via Google Classroom.
Here’s what you have to do:
- Create an account within the application or website.
- Create an activity or resource for your students within the application or website.
- Use the “share to Classroom” option. You’ll find this option somewhere in the application.
- Now you can do things, like creating a quiz and assigning it to your students in one of your classes.
Note that there are so much more apps out there that have this option. I just picked out my favorites.
1. BookWidgets
 With BookWidgets (Google for Education Partner), you can create interactive exercises for your students on tablets, computers and smartphones. As a teacher you can choose between more than 40 different exercises and games.
We give you the template, you add your lesson idea in just a few clicks. Students open the exercise within Google Classroom. You can assign them a BookWidgets exercise, right away in Google Classroom. Just download the BookWidgets Chrome plugin or use the BookWidgets add-on.
You can even follow your students’ activity in Google Classroom, live, from a distance, inside Google Classroom with the Live widgets feature.
The biggest advantage of BookWidgets is that it’s so diverse. Making your own quizzes or worksheets? BookWidgets! Making your own games like crossword puzzles, memory, spot the difference, jigsaw puzzles, etc.? BookWidgets! Making your own interactive video quizzes? BookWidgets!
💡BONUS: Explore here the extra advantages you gain by utilizing BookWidgets in Google Classroom.
2. Nearpod
 Nearpod is also a presentation tool like Buncee. It’s also much more than that! Create your own interactive presentations. Add some slides, slide by slide, or choose a special Sway template you can adjust.
All those slides make an amazing interactive presentation. Especially if you add activities like quizzes, open-ended questions, polls, draw questions and others. What about taking your students on a field trip within your presentation? Just add a slide with a virtual reality experience from Nearpod’s library.
When your presentation is ready, your students can opt in by entering a code in their Nearpod app or just click on the assigned link in Google Classroom. You, as a teacher, are in charge of the presentation. when you switch to another slide, the presentation on your students’ devices will also switch to that slide.
When your students have to make a quiz or a poll, they can just do that on their screen, as it is a part of the presentation. The answers are gathered live! So you can see immediately what your students answered.
3. Screencastify
 If you want to give clear, online instructions, giving students the opportunity to process learning material at their own pace, you can use Screencastify to record your screen, voice and yourself while giving instructions and guiding students through some learning materials from a distance. Think about homework or when some students need homeschooling and you are teaching them from a distance with Google Classroom.
Screencastify makes it super-easy to create instruction videos. Simply install the Screencastify Chrome plugin in your Chrome browser, and start creating videos by recording your screen and voice. Students can follow every movement on the screen while listening to your comments. When you’re finished, save and download the video and share it with your students in your learning environment (e.g. Google Classroom).
4. Newsela
 Newsela builds reading comprehension through leveled articles, real-time assessments and actionable insights. Students can read articles on their own tempo. Newsela offers articles from world class news publications in 5 adaptive reading levels. You can also unlock progress with embedded assessments like quizzes.
So, if you are in need of a good text that is adapted to different reading levels, you should include some of these articles in Google Classroom.
5. Quizlet
 Quizlet is a quiz tool that focusses on terms and definitions. As a teacher, you add a class and make a quiz. Share this quiz with your Google Classroom with just a few clicks.
They just have to click on the assignment in Google Classroom and choose what game they want to play. They can take a test, opt for the learn mode, learn by flashcards or match terms with their definitions.
Quizlet Live lets your students work together in order to find the right word or definition to the description. It’s made for practicing terms and definitions.
There’s something tricky though: you can’t see what descriptions your teammates have. If someone on your team makes a mistake, you have to start over again. Teams battle each other in order to be the first team to reach the finish line.
More tips about Google Classroom
Of course, there’s much more to say about Google Classroom. That’s why I recommend taking a look at the website “Teacher Tech” by Alice Keeler. You’ll find everything you’re looking for right there. She’s an absolute pro when it comes to Google Classroom. Another helpful resource when starting out with Google Classroom is this “Teaching with Google Classroom” book.
Wrap up
I hope I helped you a bit with taking your first steps in Google Classroom.
To conclude this blog post, I would like to highlight the following sources for staying updated with BookWidgets:
- Follow us on Twitter
- Become a part of our Teaching with BookWidgets Facebook group
- Connect with me on LinkedIn